
You have no items in your shopping cart
Hello! I am Paul and my passion, as you can see from the photo, is the fishing. I work the lakes and the rivers from when I six years and the techniques I have tried, more or less, (almost) all. Since 1999, living with the "fever" of carp fishing, which is still "my" technique. Working in the world of fishing since 2001, first as a reporter and editor for the tested Fish for Carp, Fishing, Carp Fishing Magazine Carp Fishing Mania, then as editor of the monthly Carp Fishing Top. Today I work as a full-time SportIT, where I take care of everything related to our wonderful passion. If you want to contact me, for info but also to give me tips on how to improve our website, write to the mail fishing@sportit.com!
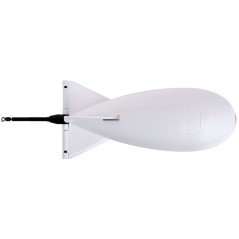
There is a "secret", that not everyone is familiar with relating to the Spomb: you can harden it or soften it, simply by reversing the sense of a clip.
This option becomes required when something unpleasant: the Spomb opens in the first flight of tap water.
The Spomb, in fact, comes “standard” with the standard clips, that “soft” for instance, inserted.
When we use the Spomb to maximum load, or for sight-seeing, or do launches very tense, violent and uncoordinated, can happen is that the clips of the series, ceda and open in flight.
With the photo sequence that we see here below, we explain the simple steps to “reverse” the Spomb, then harden it or soften it.
STEP 1
Before starting with the procedure, here is a photo of the “secret” of the Spomb: the clip has two “arms” with two different groove. A, the left, is much more profound than the other, so it has more grip.

STEP 2
The Spomb out of series with the standard clips inserted. Our task will be to reverse it with the one from the throat the deepest.

STEP 3
Here's the inside of the Spomb: here we see the plaque that blocks the clip.

STEP 4
we Rotate with the fingers, the clip counter-clockwise or clockwise. In some cases, this procedure can be strenuous with bare hands: look with a pair of pliers.

STEP 5
The plaque, turning, exits from the guides in the block. Now we can remove it.

STEP 6
When unlocked, the plate jumps away by itself. Careful not to lose the spring.

STEP 7
Here are the two parts that make up the clip that closes the Spomb is disassembled.

STEP 8
Now all we have to do is turn the clip and put it back in the head of the Spomb.

STEP 9
Riapplichiamo the plate parallel to the guide.

STEP 10
we Rotate with your fingers on the plate for relock the clip.

STEP 11
The game is the fact: the plaque is back in place and we can run away with a Spomb more “hard”.


Spomb
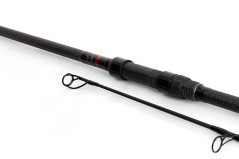
Canna Spomb S Rod 12"
€ 169,99
Spomb
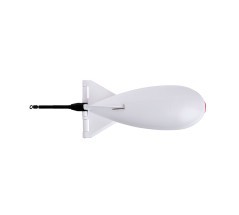
Large White Spomb
€ 17,90

Spomb
Monofilo X Pro 0,26mm
€ 9,99

Spomb
Trecciato XD Pro Braid 16LB
€ 44,99

Spomb
Trecciato X Pro Braid 24LB
€ 44,99
Spomb
Galleggiante Spomb Float
€ 1,99
Spomb
Midi Spomb White
€ 16,00
Spomb
Midi Spomb Black
€ 16,00
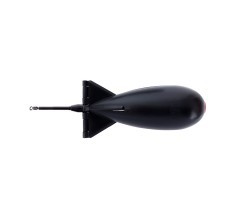
Spomb
Large Black Spomb
€ 18,00
Spomb
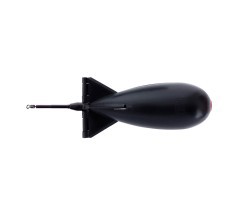
Midi Spomb X Black
€ 18,00
Spomb
Bucket Square Bucket 17 litres
€ 14,50
Spomb
Canna 12ft LR Spod Rod
€ 210,00